Nuevo: Frequently Bought Together v2 — más rápido, más inteligente.Saber más
Post-purchase
Post-purchase upsell
Thank-you
The Post-Purchase Upsell shows on the Shopify thank-you page and the order status page after the shopper completes checkout. The order is already paid, the shopper is happy, and a relevant "you might also like" offer at this moment adds revenue with zero risk to the original sale.
Layout
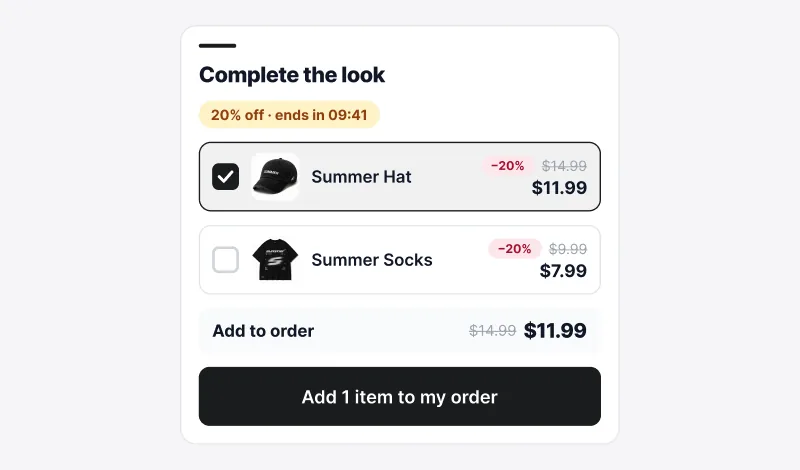
How to create a Post-Purchase campaign
A
In the Summer Upsell admin
- 1 Click Create Campaign → under Post-Purchase pick Thank You Page Block.
- 2 Offer name (e.g. Thank-you — Accessory upsell).
- 3 Set the Section Title (default You might also like).
- 4 Trigger: Any order for broad reach, Specific products (default) or Specific collections to show the offer only after orders containing those products.
- 5 Pick the product source and the offer products.
- 6 Optional: enable the discount — Percentage or Fixed Amount.
-
7
Design tab: set the Widget Title (e.g. Your new order is on the way!), Button Text and the Discount Banner Text, which uses the
{discount}placeholder (e.g. Add items to the cart to get {discount} Discount), plus colors. - 8 Language tab: per-language overrides for Section Title, Button Text and Discount Banner Text.
- 9 Click Publish — post-purchase needs no theme block, so the checklist only verifies the campaign and its products.
B
In the Shopify checkout editor
- 1 In the Shopify admin, open Settings → Checkout and click Customize on your live checkout profile.
- 2 Use the page switcher at the top to move to the Thank you page.
- 3 Click Add app block and choose Summer: Post-Purchase Block.
- 4 Switch the page selector to Order status and repeat, so returning shoppers see the offer too.
- 5 Click Save. Place a test order to confirm the block renders.
Two pages, one campaign
A single post-purchase campaign renders in two places, both added from the checkout editor. You configure the offer once.
About styling: Post-purchase blocks render inside Shopify's checkout and customer account pages, which apply your shop's brand settings. To change fonts and colors globally, go to Settings → Customer accounts → Branding. The color fields on the Design tab still apply where Shopify allows.
Why post-purchase converts
- The risk barrier is gone — payment is approved, the shopper is happy.
- No checkout abandonment — the original order ships regardless.
- The offer opens a cart that's already filled, so the second purchase is a couple of clicks away.