Product page widgets
Upsell
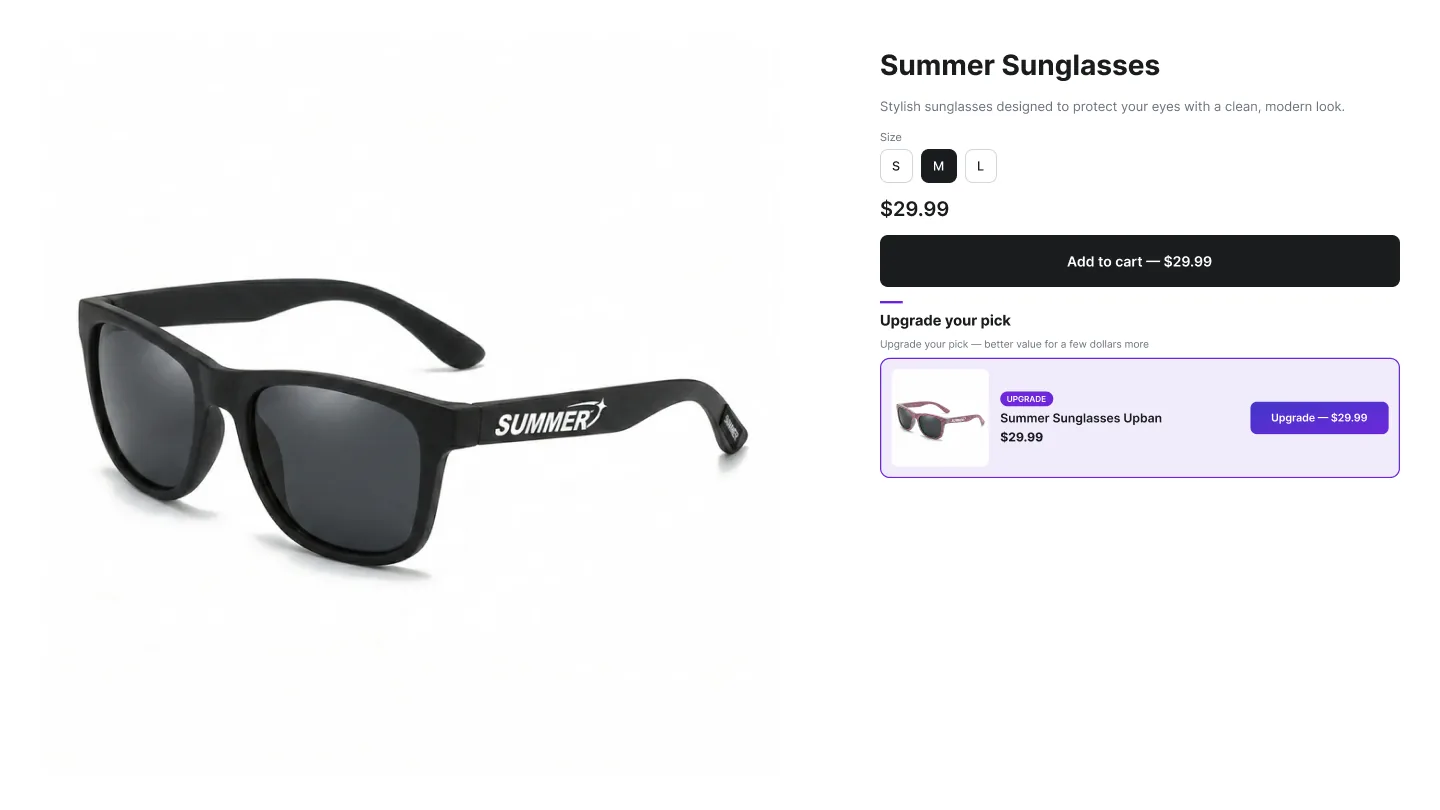
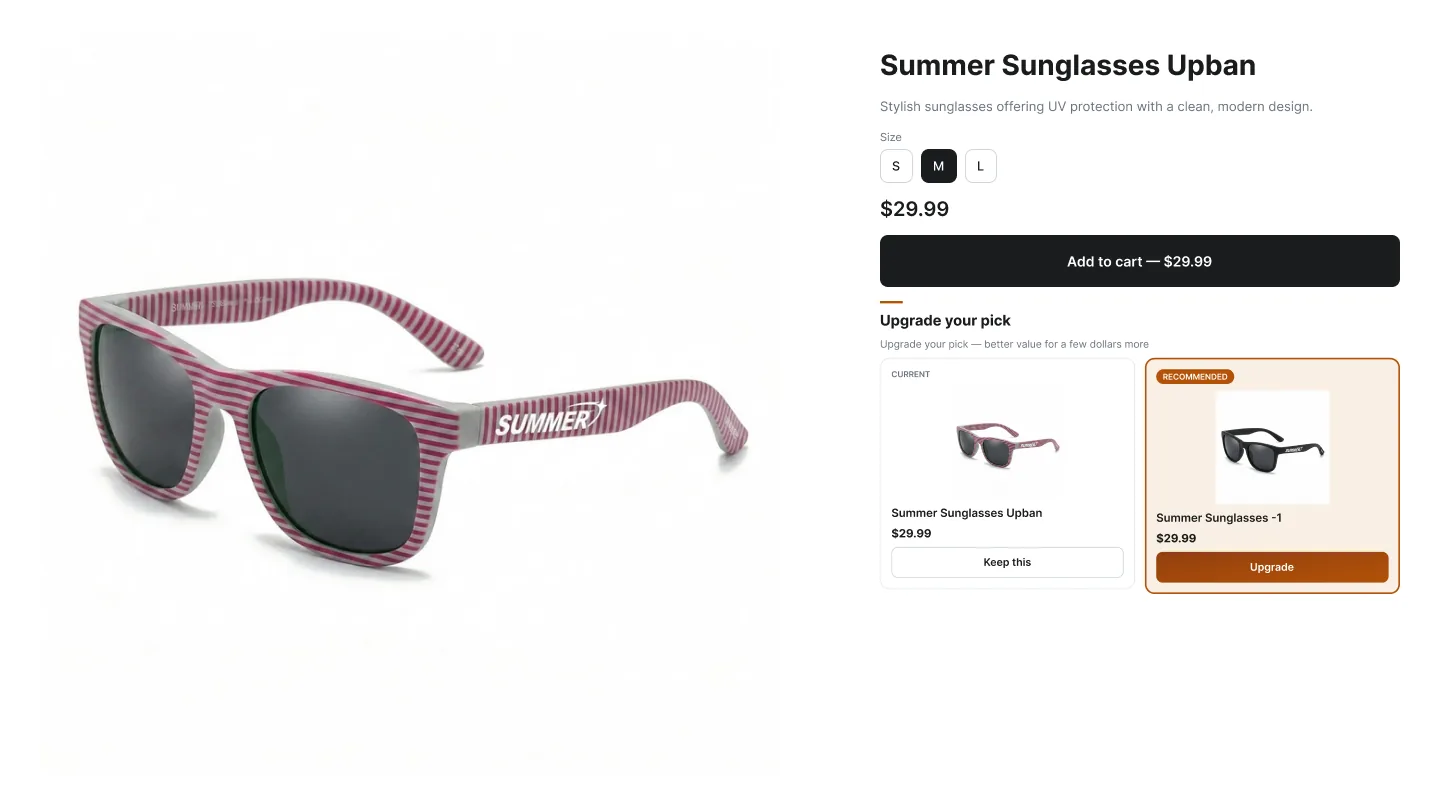
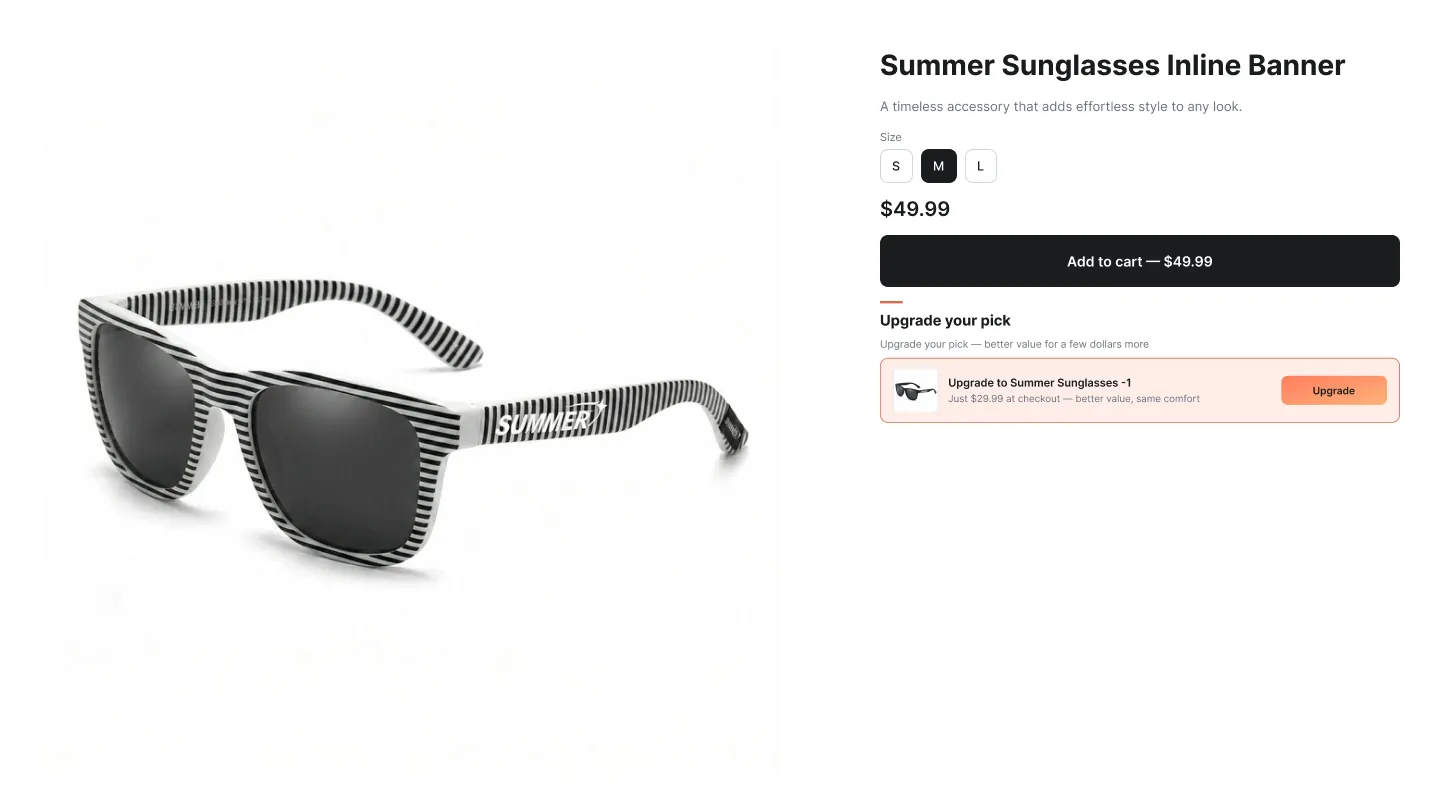
The Upsell widget is built for true upsells — convincing a shopper to take the premium version, upgraded tier or limited edition instead of the product they're looking at. It lives next to the buy box on the product page and ships in three layouts focused on one decision, not browsing.
Layouts
How to create an Upsell campaign
In the Summer Upsell admin
- 1 In the Summer Upsell admin, click Create Campaign.
- 2 Under Upsell on the Product Page list, pick Single upgrade, Tier comparison or Inline banner.
- 3 On the Offer tab, give the campaign an internal name (e.g. PDP — Pro upgrade).
- 4 Set the Trigger — All products, Specific products or Specific collections.
- 5 Choose Specific products and click Add Products to pick the upgrade product. Tier comparison takes two products and a radio marks the recommended one; Single upgrade and Inline banner use only the first.
- 6 Optional: tick Enable discount for upsell products — Percentage or Fixed Amount.
- 7 Switch to the Design tab, pick a template and tweak typography / colors if needed.
- 8 On the Language tab set the Widget Title and Button Text, and add translations if you need them.
- 9 Click Publish. The Test campaign in store checklist runs (campaign active, products available, app embed enabled, widget block added) — fix anything red, then click Publish campaign.
In the Shopify theme editor
- 1 In the Shopify admin, open Online Store → Themes and click Customize on your live theme.
- 2 Use the template dropdown to switch to Products → Default product (or whichever product template the trigger products use).
- 3 In the left sidebar, click Add block inside the product information section.
- 4 Choose ✨ Summer: Upsell from the Apps section of the block picker.
- 5 Drag it to the position you want — right after the buy buttons for Single upgrade and Tier comparison, right above them for the Inline banner.
- 6 Click Save. Visit a trigger product on the storefront to confirm it renders.
Design tab
Every campaign opens on the Offer tab. The Design tab next to it controls how the widget looks on the storefront. The same set of controls is reused across nearly every widget type, so once you learn it on one campaign the rest are familiar. A live preview on the right updates as you change settings — switch it between desktop, mobile and full size.
Tip: Click any template to seed every color at once, then nudge the individual swatches. Faster than building a palette from scratch.
Language tab
The Language tab holds the storefront copy for the widget. The Default language block is always there; click Add another language to add any locale your Shopify store has published and translate the title, button text and other storefront strings for it. Default text is pre-filled in English, Spanish, French, Arabic, Turkish and German. A locale you don't add falls back to the default language.
Tip: In Tier comparison the first selected product is recommended by default. Use the Recommended radio next to the products in the Offer tab to highlight the other one.